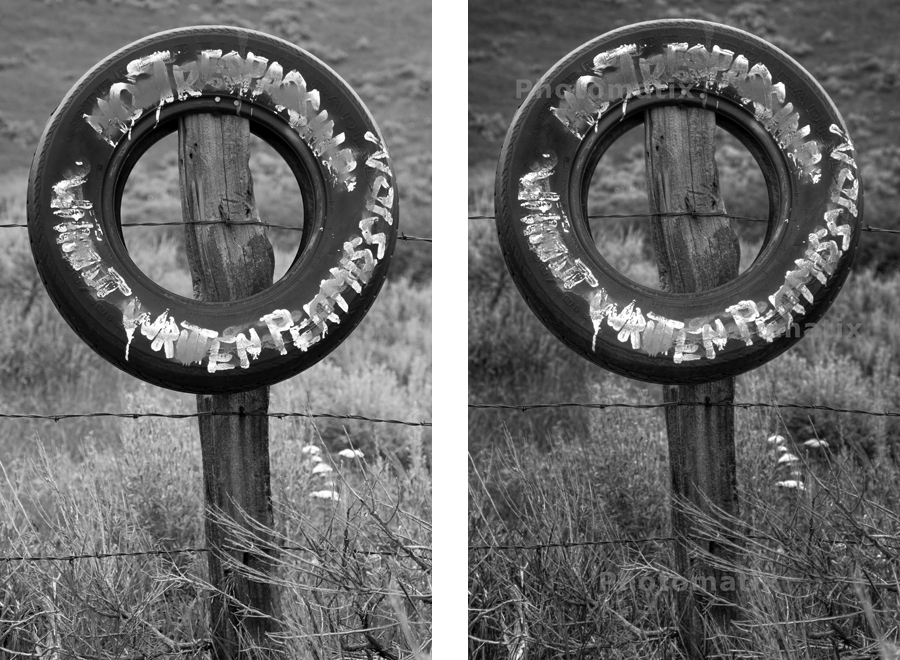
Just to take yesterday’s images the next step, I converted the two tire pictures to B&W to see how they fared.
I converted them using CS3’s Black & White Adjustment tool. To keep the comparison fair, I used the same conversion settings (established for the HDR image and copied on the straight image):
- Red 27
- Yellow 30
- Green 55
- Cyan 53
- Blue 188
- Magenta 60
I adjusted Blue the most to get the detail in the tire the way I wanted it. Yellow darkened the background a bit.
Then I adjusted them both in Levels for Black/White Points and Midrange (2 – 1.07 – 249). Again, I kept them the same to provide a clearer comparison.
This is the B&W version of the non-HDR image:

This is the B&W version of the HDR image:

And here they are smaller, but side-by-side:

The back grounds are different, but that could be adjusted if I focused on refining each one to to it’s own range.
The straight image pops more because of the stronger blacks – the HDR shows a fuller range of values, dropping the pop factor for the greater range of detail. The full Black and Whites are there, I dialed them in using the Levels adjustment. But since there is less over all it flattens just a bit. But I enjoy looking at the HDR image more – there’s more to look at. Like looking at an Ansel Adams, the more you look the more there is to see.
Now I need to explore pulling an HDR from a single raw, for those moments when you can’t bracket – or when there is a variable element in the image – like a person who refuses to sit completely still. We’ll see where that goes.
This is an interesting set of posts (on HDR). I’m interested to hear what you decide. I also tried Photomatix a bit to see if I liked the results. I’ll save my opinion until you finish the series. I agree with your points about keeping the objective in mind. I’m also very interested in whether you think pseudo-hdr from a single raw file works. I’ll tune in then. Peace.